Hyo Neko is an ongoing R&D project that evolves with each iteration. Follow along below as each version offers something over the last and we learn more about developing and producing a designer toy.
Hyo Neko
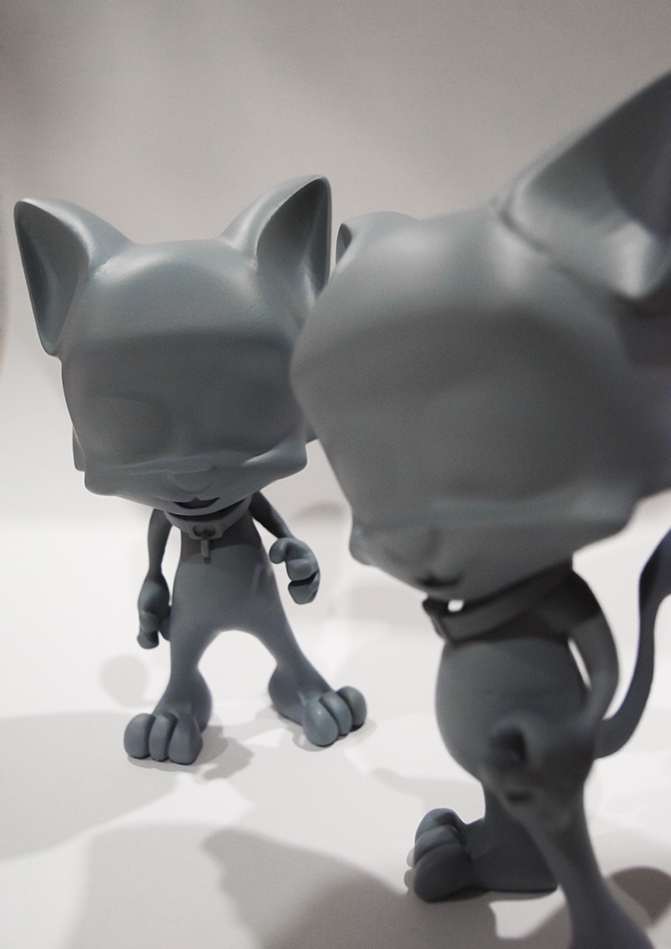
Hyo Neko Priming and Sanding
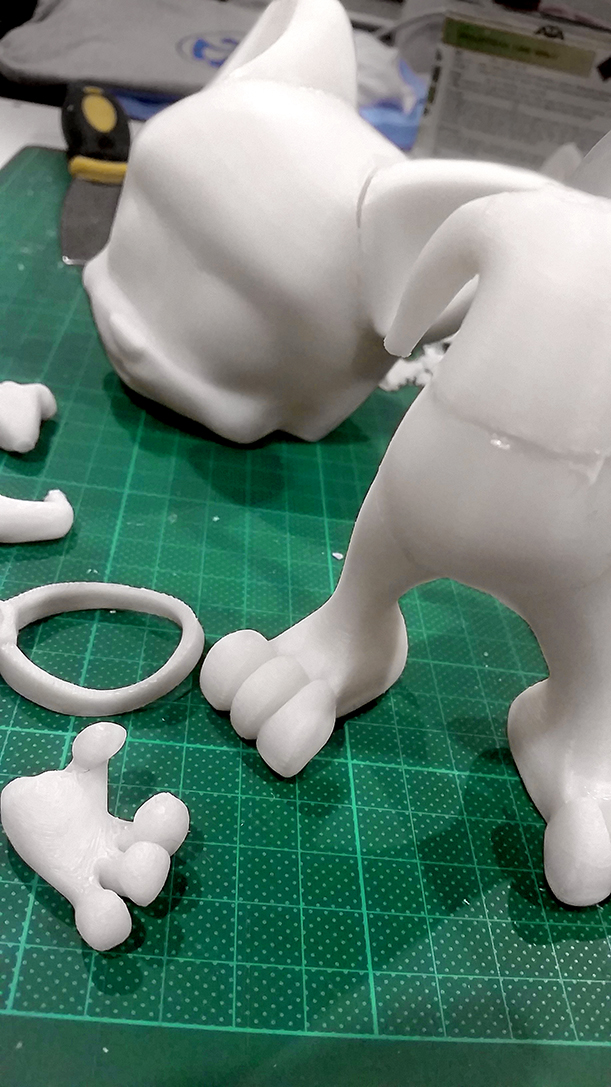
Every rapid prototype requires some sort of clean up or finishing process if the intent is to use it as a finished piece. While this may not be necessary for every 3D print, it was a requirement for Hyoneko's process testing. How best can we quickly achieve a smooth and finished model without resorting to hours of sanding?
Unfortunately for this time around we needed to test the method requiring hours of sanding. After all the best way to get a smooth model and perfect finish is to involve allot of elbow grease. While this isn't ideal we will have a baseline to test other methods against and know if the results and time are comparable.
With a back and forth between spray filler and sanding at various grits this takes time and for Hyoneko it was a layer of spray filler then sanding once dry. We started with 80 grit to remove most of the Z layer lines, then applied another coat of spray filler and used 180 grit. This process was repeated until the bumps were smooth and gaps filled. With the final layer of spray filler 250 grit sand paper and then 400 grit was also used to remove the sanding scratches.
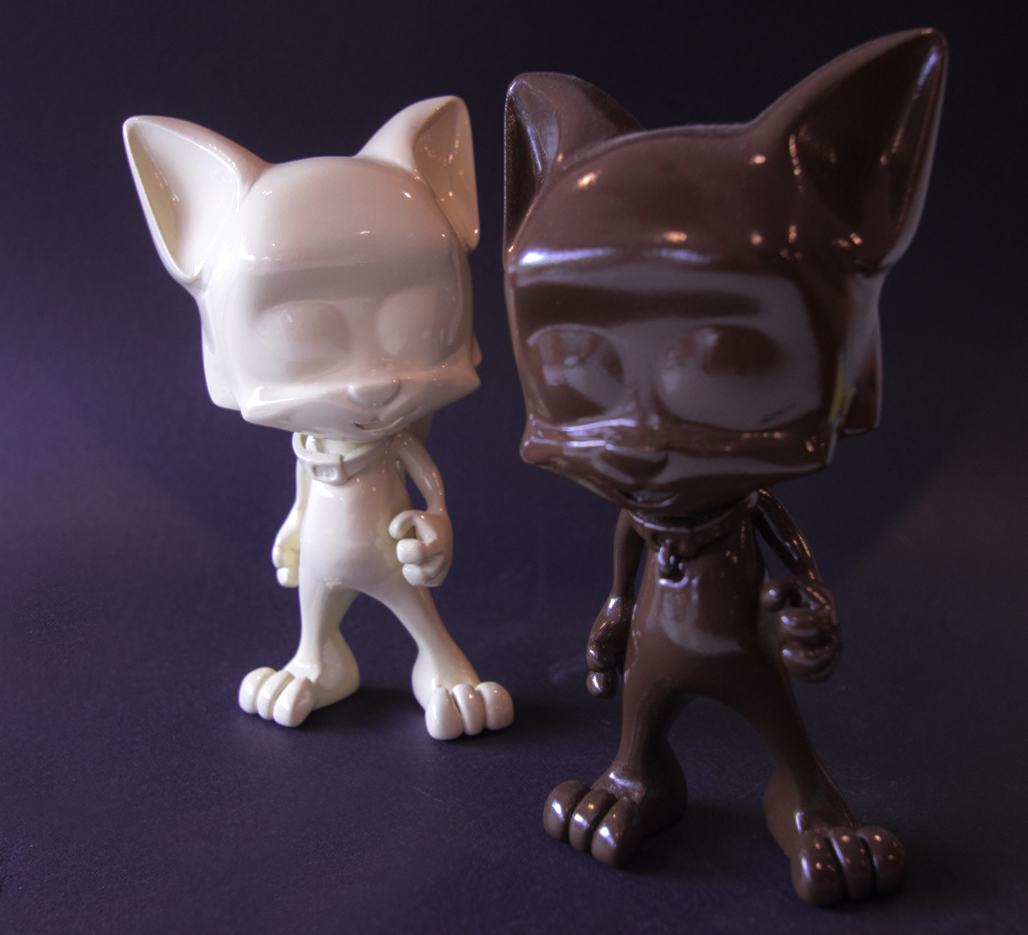
To further help a smooth finish, the models were washed clean and then had a few coats of glossy spray paint added. These weren't sanded between coats and were applied very carefully and repeated every 15 to 20 mins. This took some practice and won't work with every spray paint or colour, as different brands and colours within the same paint brand have different properties. The glossy paint would apply slightly rippled but slowly smooth out as it dried, we re-sprayed before the recommended time on the can to build up the layer and keep it smooth but not so much that the paint started to run. In the end we had a very chocolate and vanilla looking pair of Hyoneko. While this was successful it was a very time consuming process that also took about two weeks for the glossy paint to finally cure.
Hyo Neko Rapid Prototyping
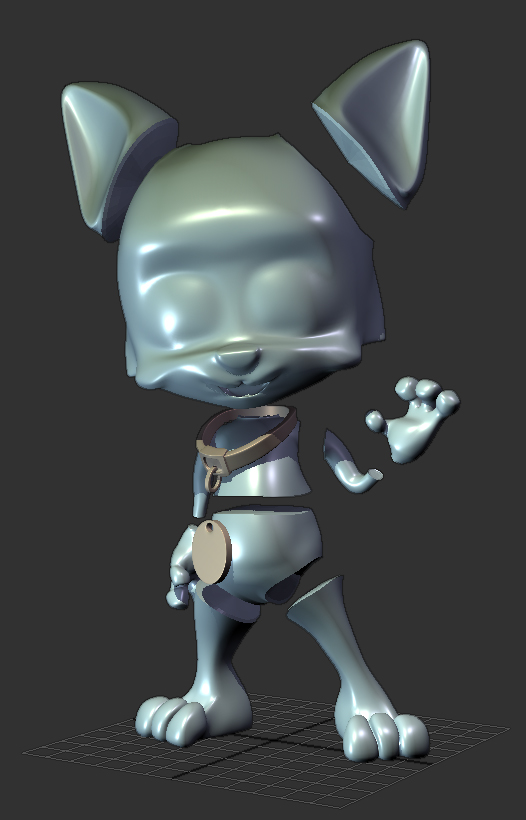
By splitting up an object when 3D printing you allow yourself more freedoms with its design. But what is the best way to divide and re-assemble it.
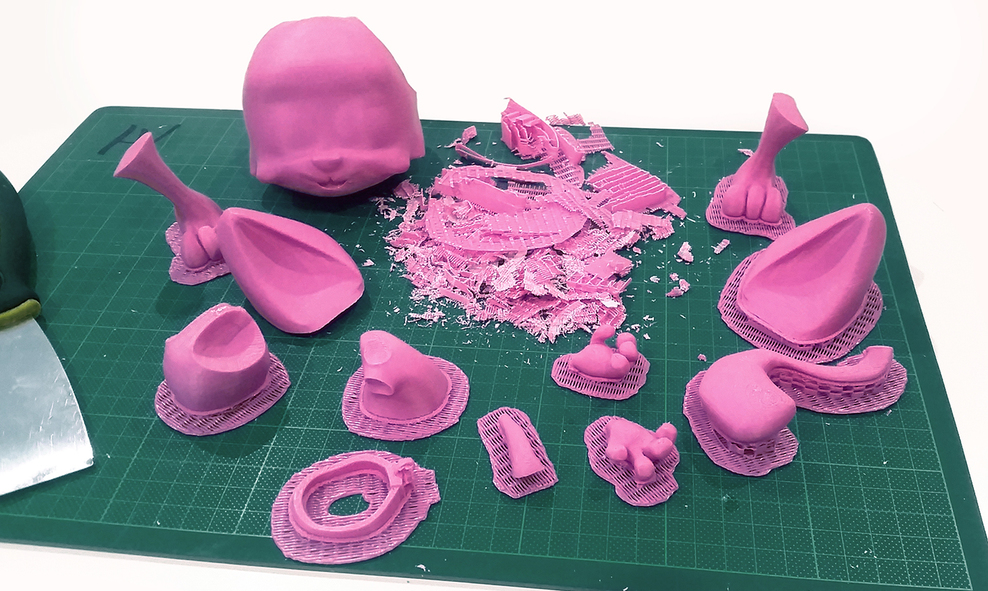
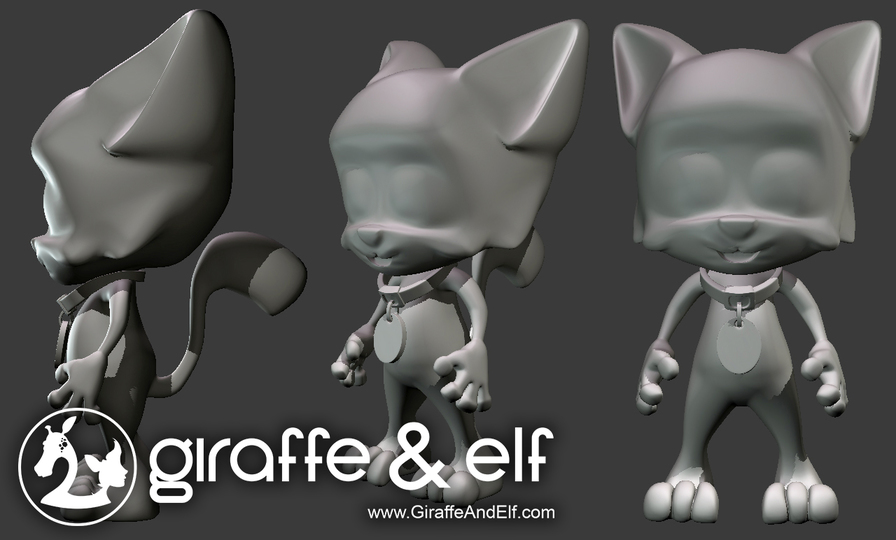
When 3D printing an object that is bigger than the build plate the only option you have is to split it up into different parts. While doing so it is also wise to think about what orientation those parts will be printed in and where the split should occur.
A few things we've learned about rapid prototyping small detailed objects is that while you can print with an undercut and support, it is best to avoid them as it reduces the Z resolution on those areas. You will also get the best Z resolution on the parts of your model facing up. Lastly if you must separate your model into parts make sure the seams are in easy to reach places that can be sanded flat, or filled if it creates a gap after assembly.
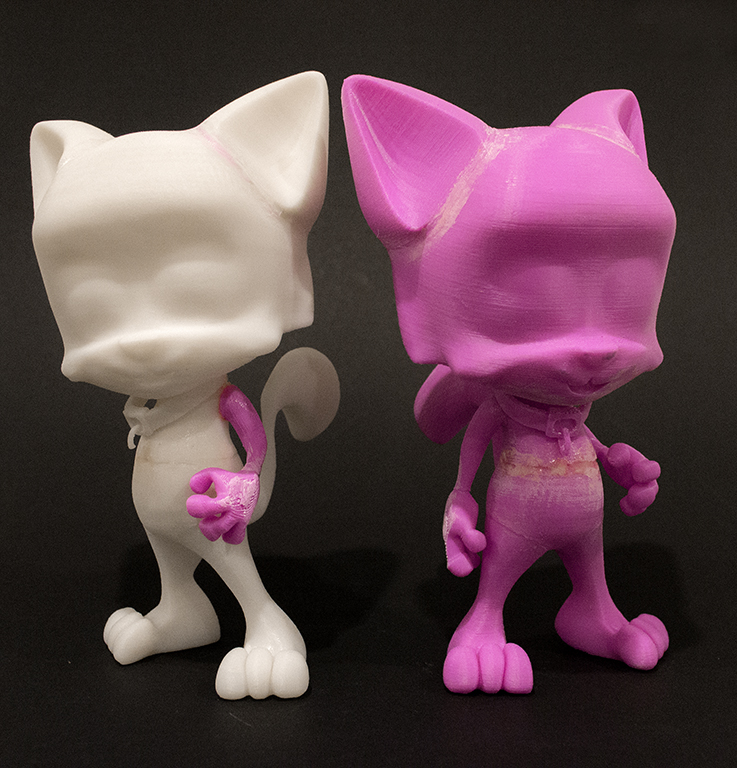
For Hyo Neko the end model was to be sanded smooth and all remnants of the rapid prototyping lines to be removed. The model is also static, with the areas that are to be glued back together having directional 'keys' printed into them to ensure the same orientation when assembled. The keys were simply bumps on the end caps of the separated parts. While this was intended to help it would have saved time to have all the end caps flat, as the glue mixture melted the ends, making any orientation possible anyway.
To create a welded bond between parts a mixture of acetone, ABS shavings, and plastic glue (ATA acri-bond 110) were mixed together and applied to both sides of the model. As Hyo Neko was printed in ABS plastic the acetone melts it slightly to help create a stronger bond. While the acetone and ABS shavings are enough for strength the plastic glue helps reduce drying time and makes the process faster.
Hyo Neko Toy Concept
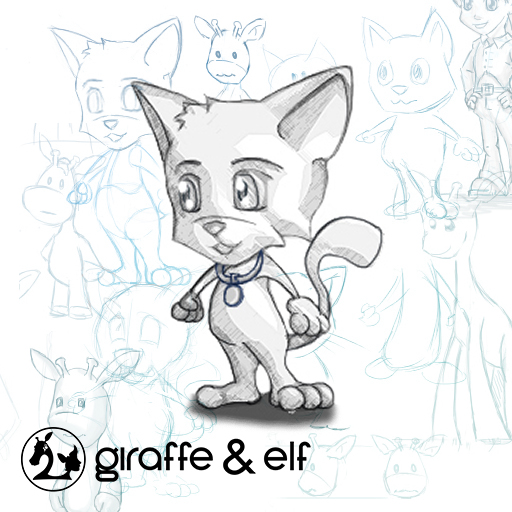
Research and development is an integral part of any conceptual product. In an attempt for better understanding designer toys and action figures, Hyo Neko was created as a way to experiment with the processes involved.
In itself the concept of Hyo Neko was straight forward, and using a cat for the basis of the figure wasn’t given any second thought. The project development cycle is ongoing and each iteration of the model is to improve upon the last using the knowledge gained collectively across all Giraffe and Elf developments and projects.
The initial model is an example of rapid prototyping (also known as 3D printing) and finishing. The model while static will be cut up into components for printing, will be smoothed using acetone vapour, and then further refined with filler primer. The end result is to trail the process of finishing rapid prototype Z resolution artefacts to look and behave like a proper master model.
As Hyo Neko continues to develop and go through iterations we will be posting updates with information about the success and failures learned along the way.
