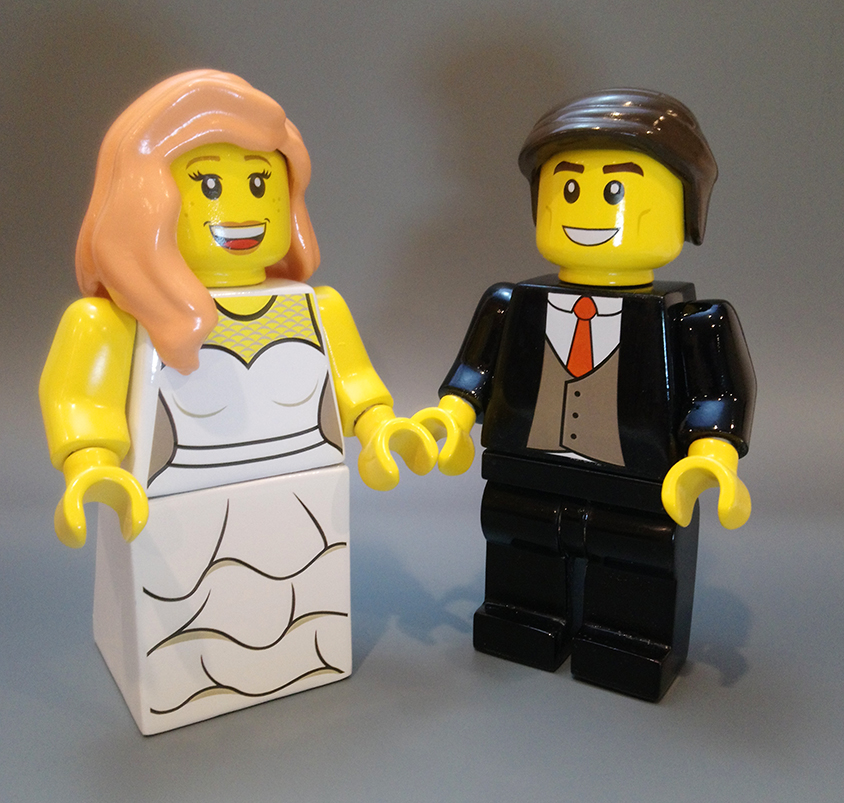
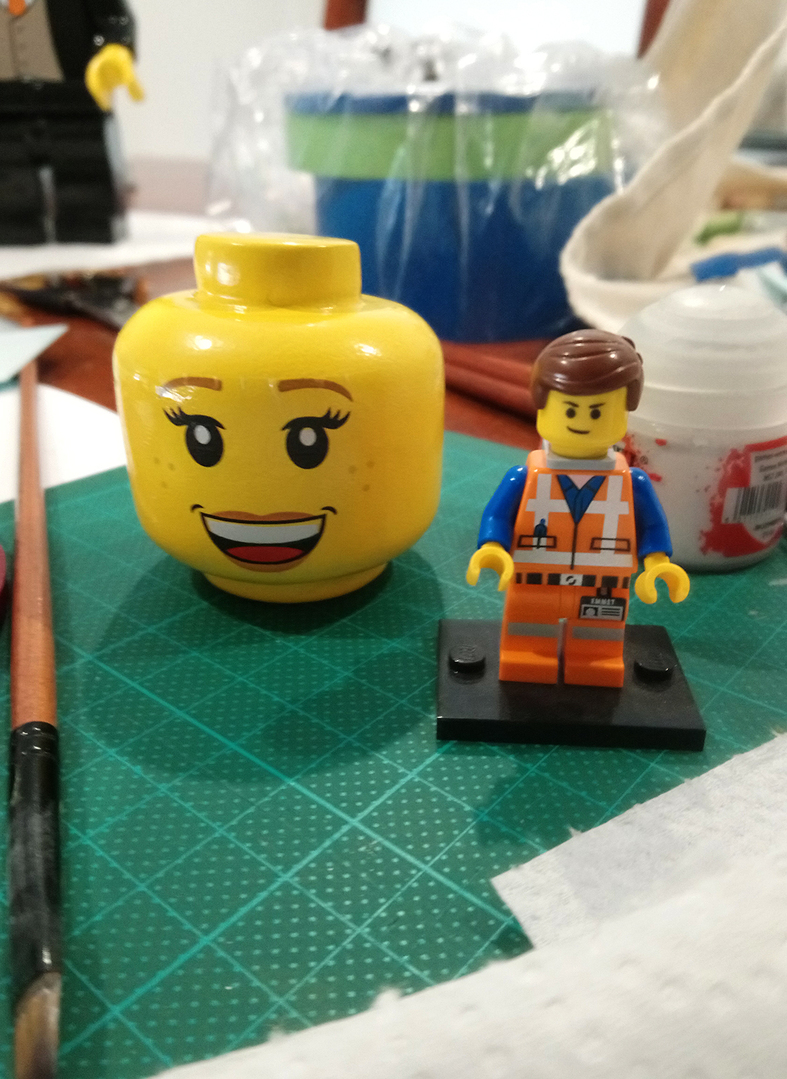
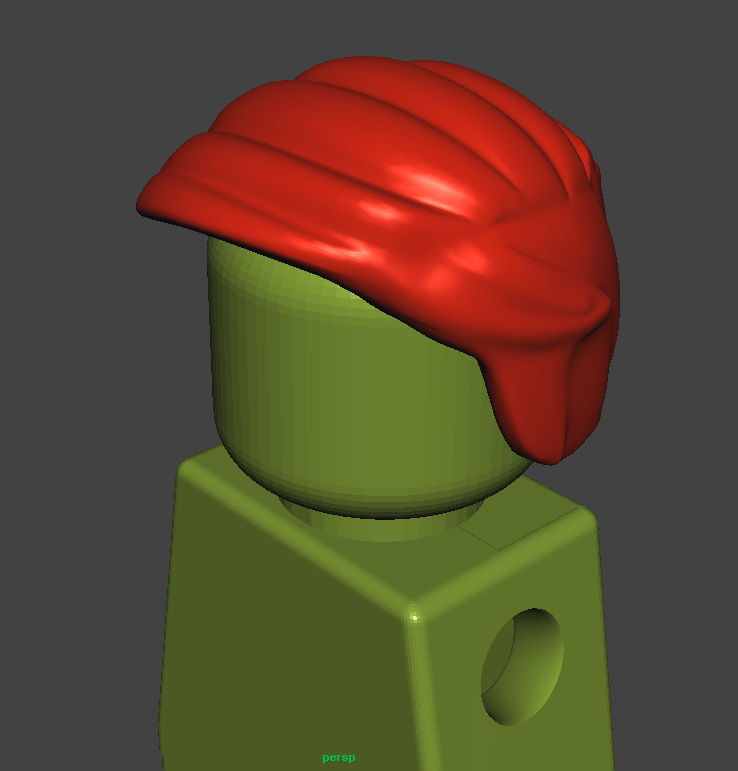
The extra-large Lego wedding minifigures are coming together nicely with all parts glued, prepped, and primed. There is only one more process left to make these models literally shine and reflect their original scale counterparts, and that is to give them and high gloss finish.
In hindsight the process we used was the logical choice, but it took a lot of learning and failing before we arrived at it. Follow along below to help achieve smooth high gloss finish detailing on your future creations.
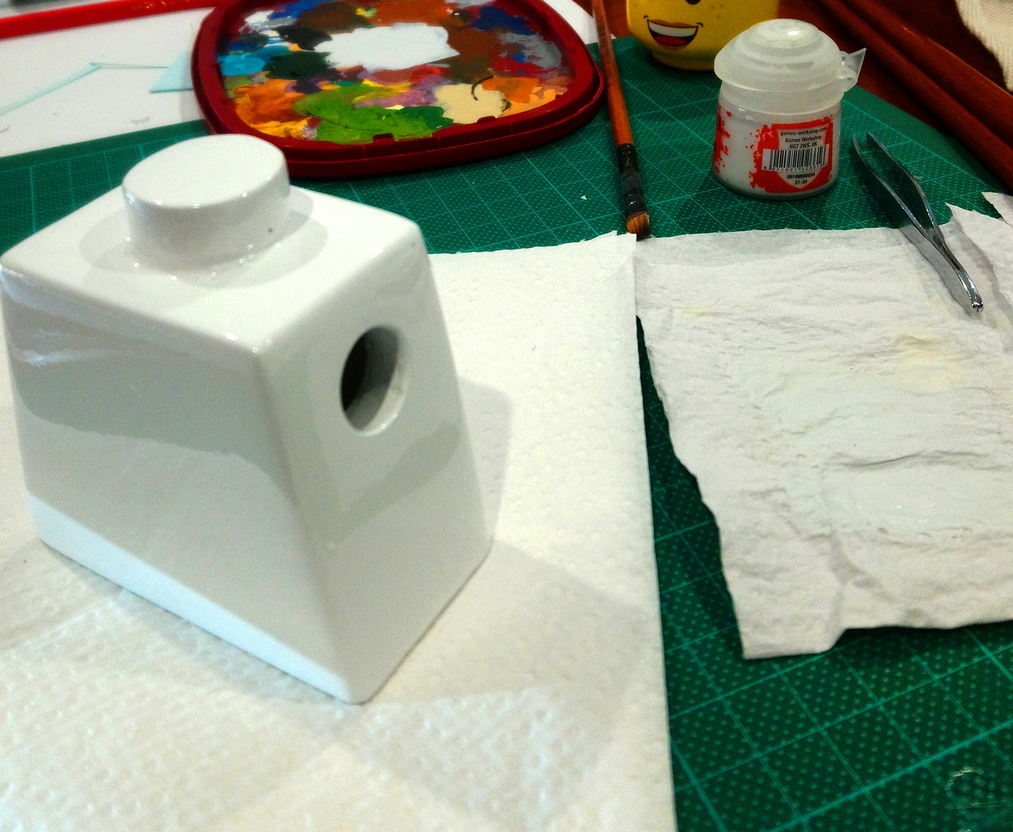
Like most goals this one started with a simple assumption, to achieve a high gloss surface finish we should use a high gloss paint. The label on the rattle can confirms this and everything looks straight forward and easy. However obtaining a smooth high gloss finish with rattle can spray paint isn’t that simple, the slightest divot can create an air bubble, and the tiniest speck of dust creates a bump. It takes a considerable amount of paint to get a smooth finish, that can also run and drip when over sprayed. A thicker coat also dries from the outside in, leaving a soft skin on top for days/weeks leaving it susceptible to finger prints.
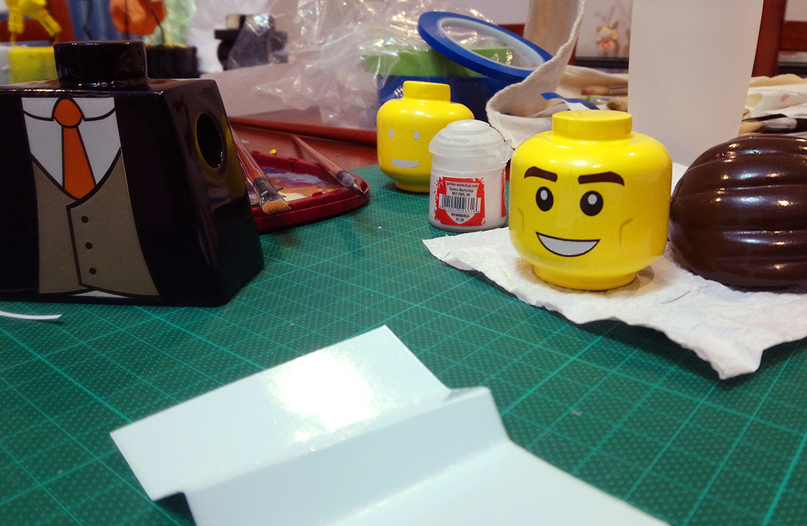
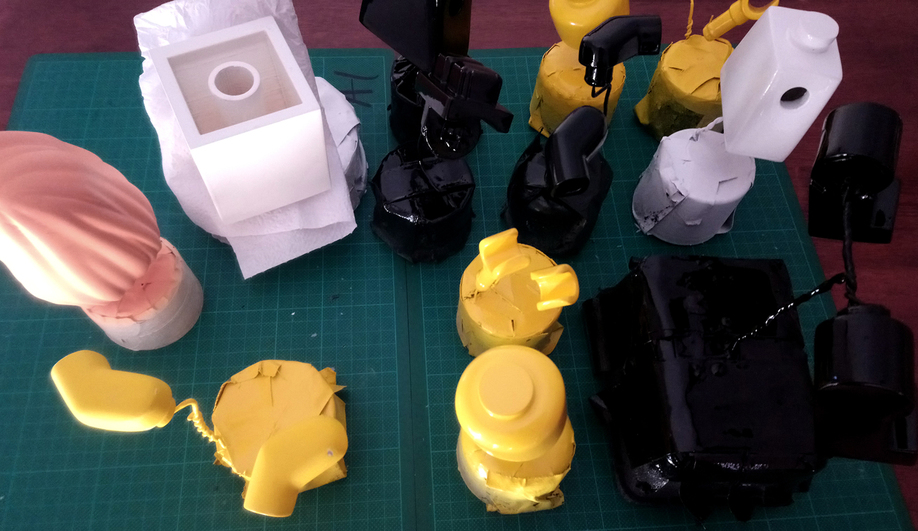
Issues are further compounded when adding a second coat of paint or spraying in multiple thin layers. Second coats applied without perfect timing react with the first coat creating a ripple or crackle effect, while laying it down too thin won’t make it glossy. Lastly with allot of gloss paint brands light and dark colours are made differently, much like oil and water, they may not mix and react unexpectedly with the undercoat creating further undesired results. This becomes a problem when the same primer is used on the wedding figs, yet their top colours were black and white, each figure part had differing finish problems after spraying due to this.
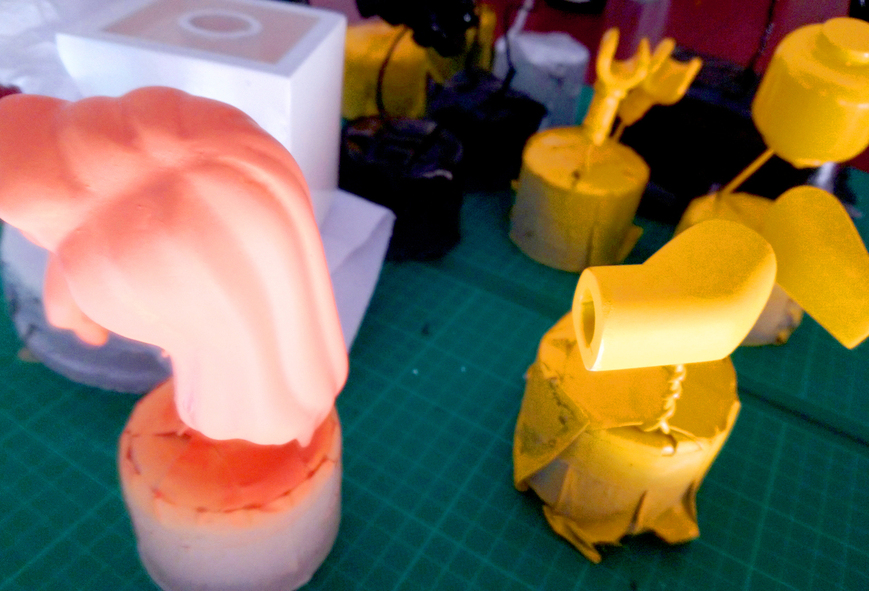
After about two weeks of trial and error and about ten attempts at laying down a perfect gloss coat. With each attempt trying a selection of rattle can brands, matt air brush paint, and clear coating all the while having to sand back and prep the surface again when it failed, it was not looking good. The deadline for the job was creeping closer and waiting 3 days for another coat of gloss paint to dry was no longer an option.
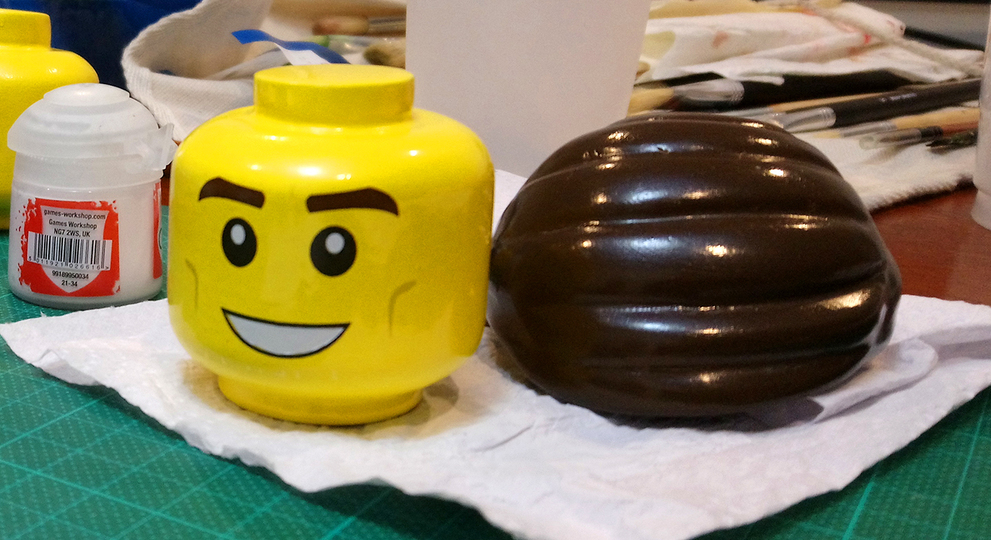
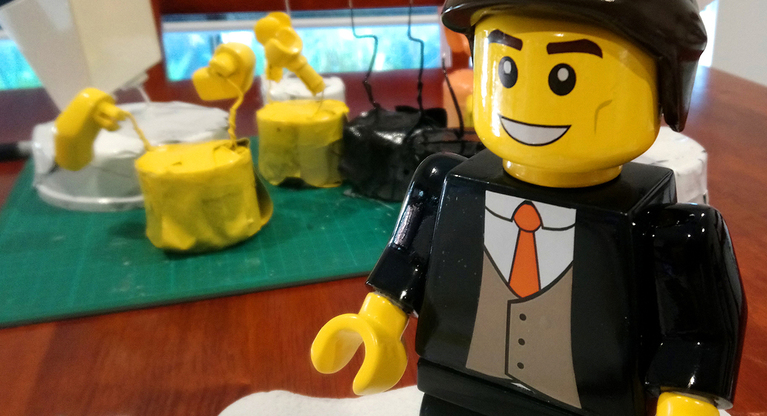
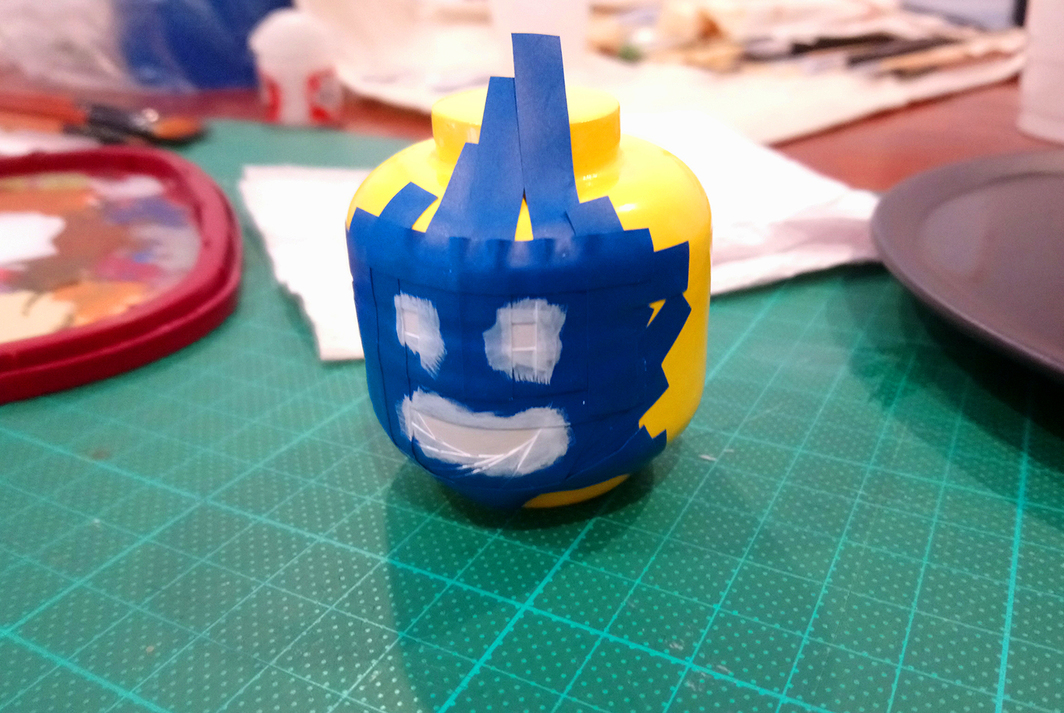
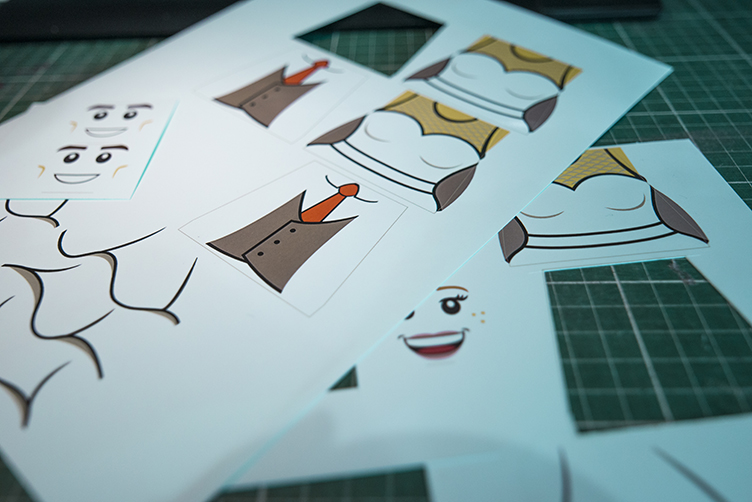
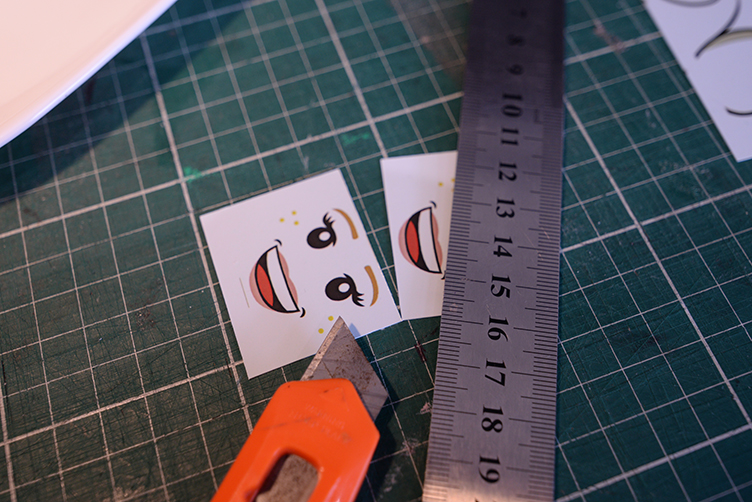
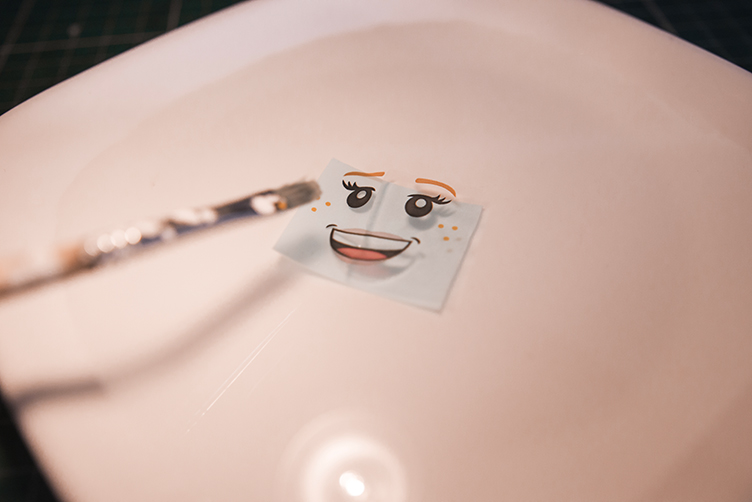
At this point we took stock of our failures, and really looked at the issues we were trying to solve. The solution came about when looking at other, non-figure, painting techniques. Things like guitar bodies, and furniture weren’t finished with a high gloss surface paint, they are rather polished to a high gloss. The solution had been so simple, no matter the painted surface finish, it can be buffed and shined into a high gloss using a car polish and wet sanding techniques. With the parts of the wedding figures already at a close enough state from the rattle cans, they were easily wet sanded to a smooth satin finish before given their water slide transfer details. Then covered in a mirror finish car polish and buffed using an electric buffer.
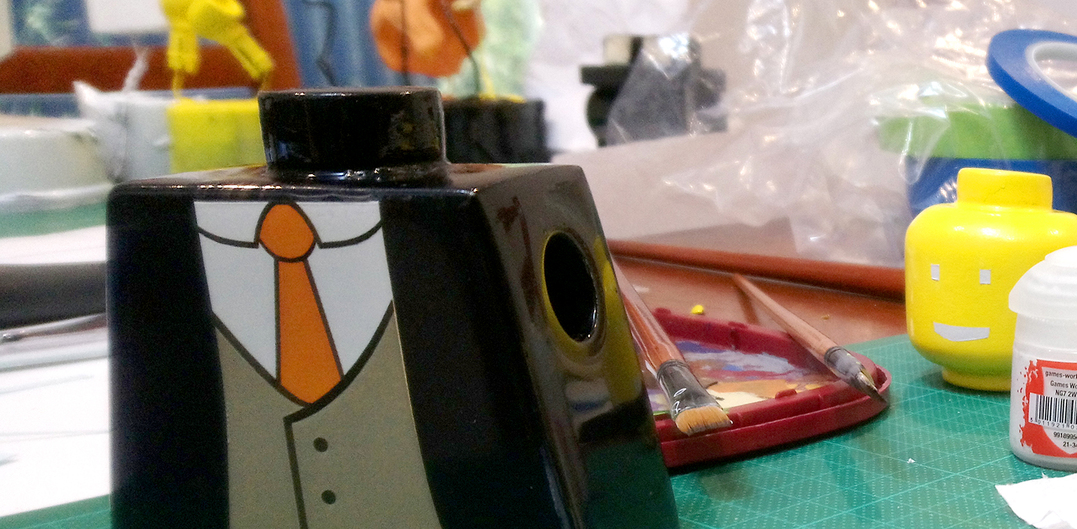
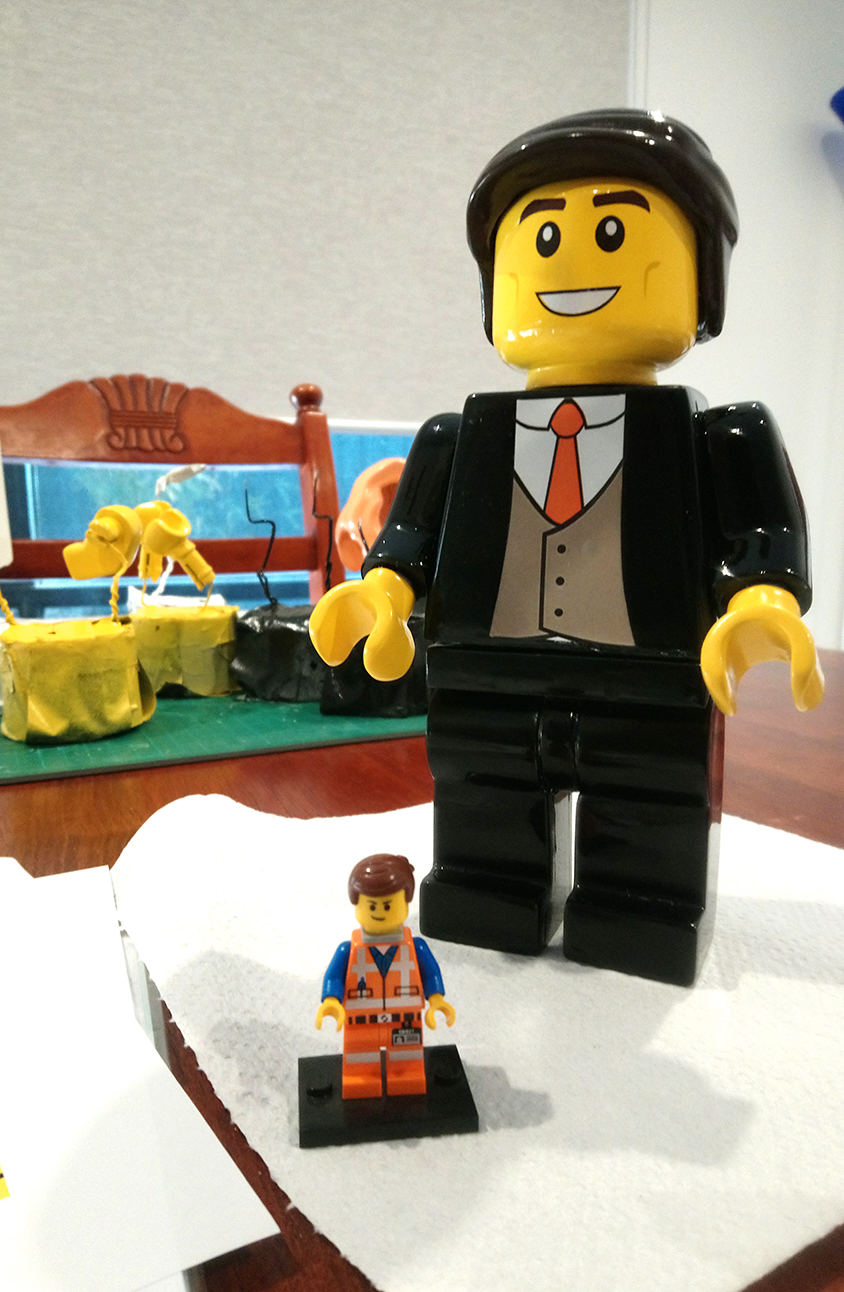
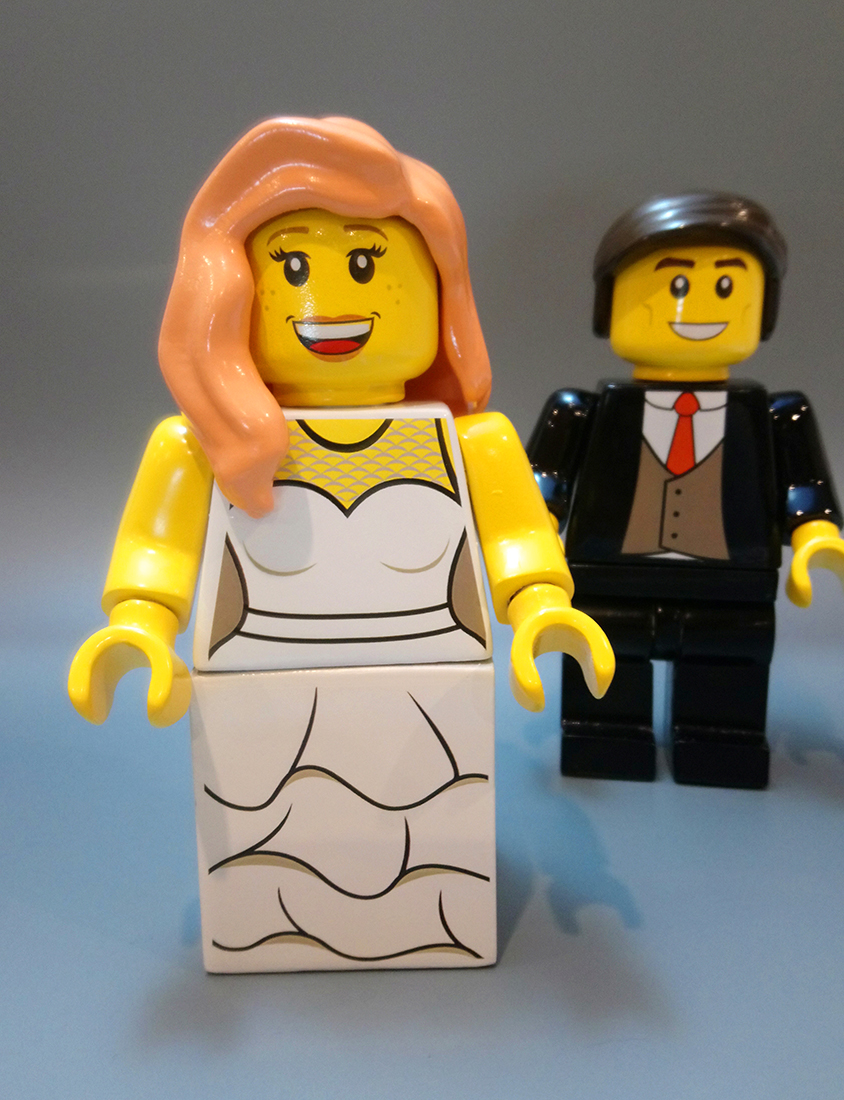
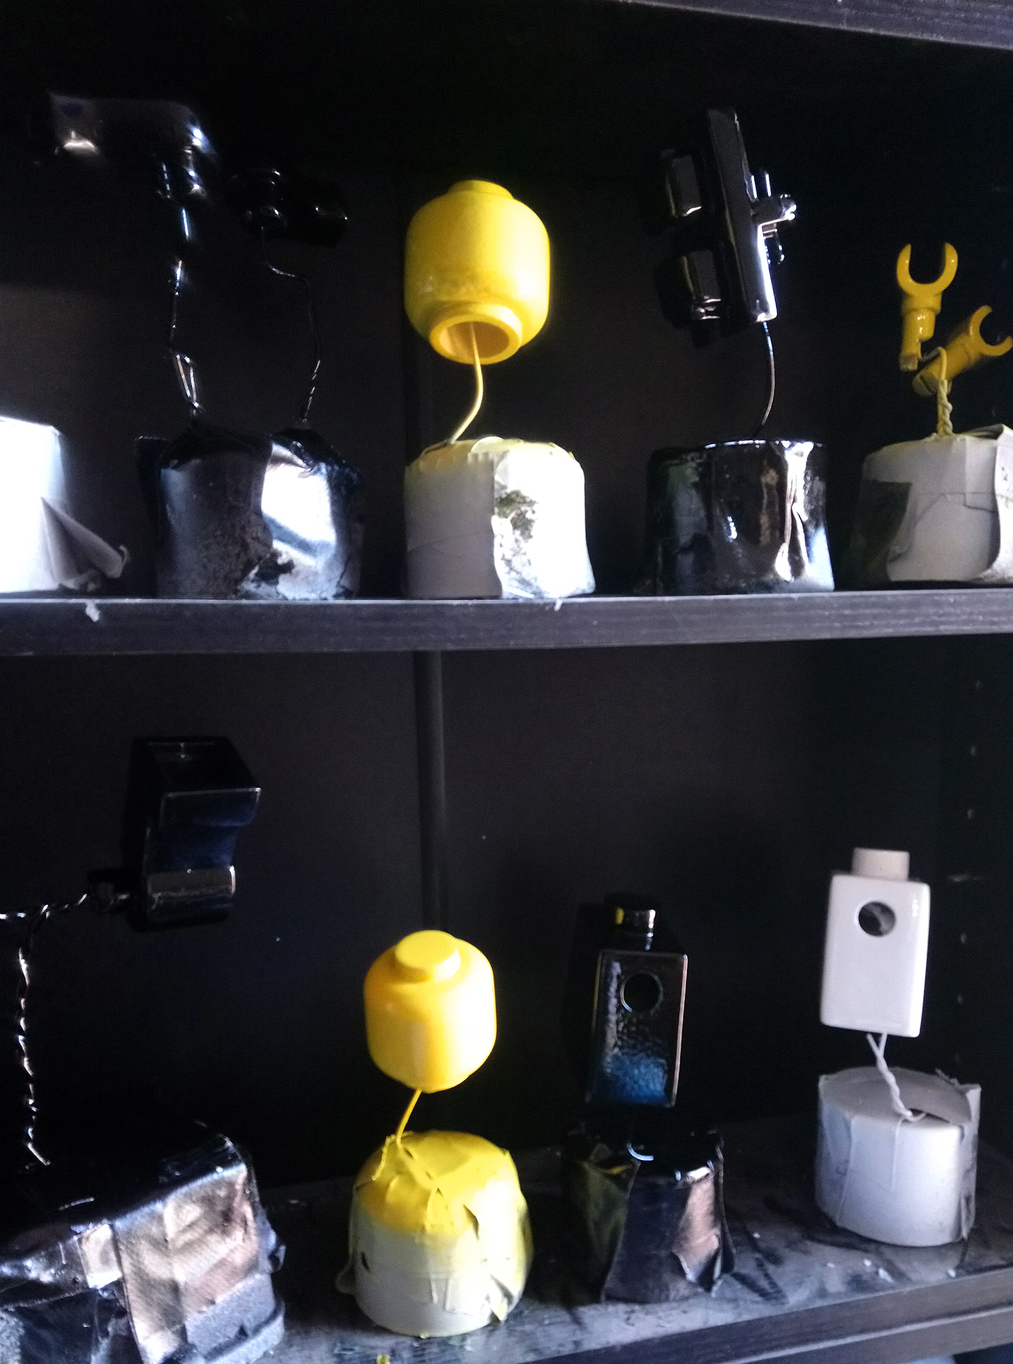
This made the entire project come together, each additional coat of polish or time spend buffing added to the end result rather that detracting from it. It also meant that the finish of the paint didn’t rely on being glossy, so custom colours were mixed up and applied with an airbrushed that more closely resembled the official Lego colours. The end result was a assortment of very impressive minifigure parts that, apart from their large scale, looked indistinguishable from the real thing.
#weddingfig